Connecting your Shopify store to Google Analytics is easy and won’t take you much time at all. Shopify is one of the easiest and most intuitive platforms for e-commerce today.
Connecting your Google Analytics account will give you a plethora of data about shopper behavior and e-commerce objectives, such as purchase behavior, viewed products, products added to cart, etc. It also gives you insight into who is coming to your store from what platform: IE Facebook, Pinterest, Organic Search, Email, etc.
In short, Google Analytics is a necessary tool for Shopify store owners. So, how do you connect your store? In this tutorial, we’ll show you how.
First, you will need to make sure you have everything on this checklist setup.
- A Shopify account
- The URL you wish to use connected
- A Google Analytics account with the property (URL) added
If you have the following completed, you’re ready to connect
Step 1: Get the property tracking ID from Google Analytics
The first step in connecting your Shopify to Google Analytics is getting the correct tracking ID. This is the sequence of letters and numbers Google assigns to the URL you are using for your store. Here’s how to get your tracking ID.
1. Log into Google Analytics and choose the right property
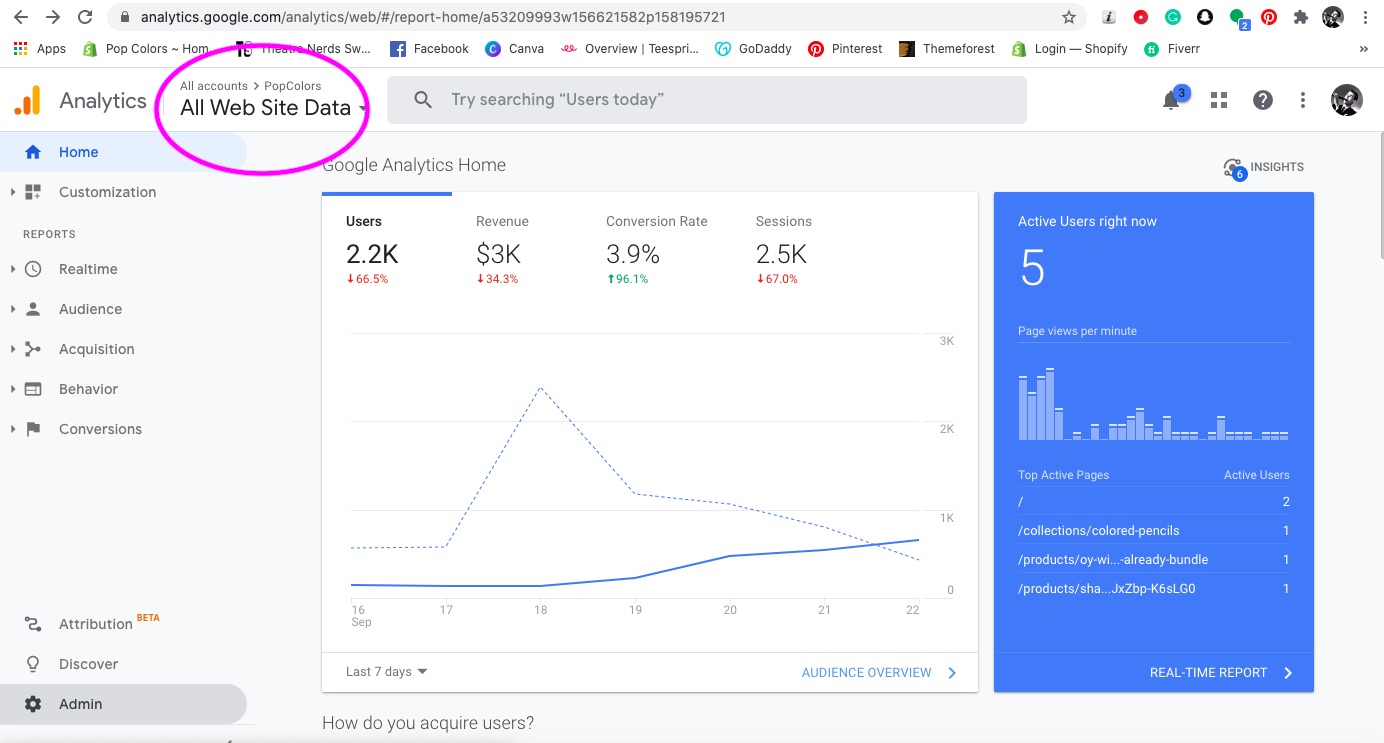
After you log in, make sure you select the correct URL associated with your Shopify store.
2. Click the ‘Admin’ tab for the property
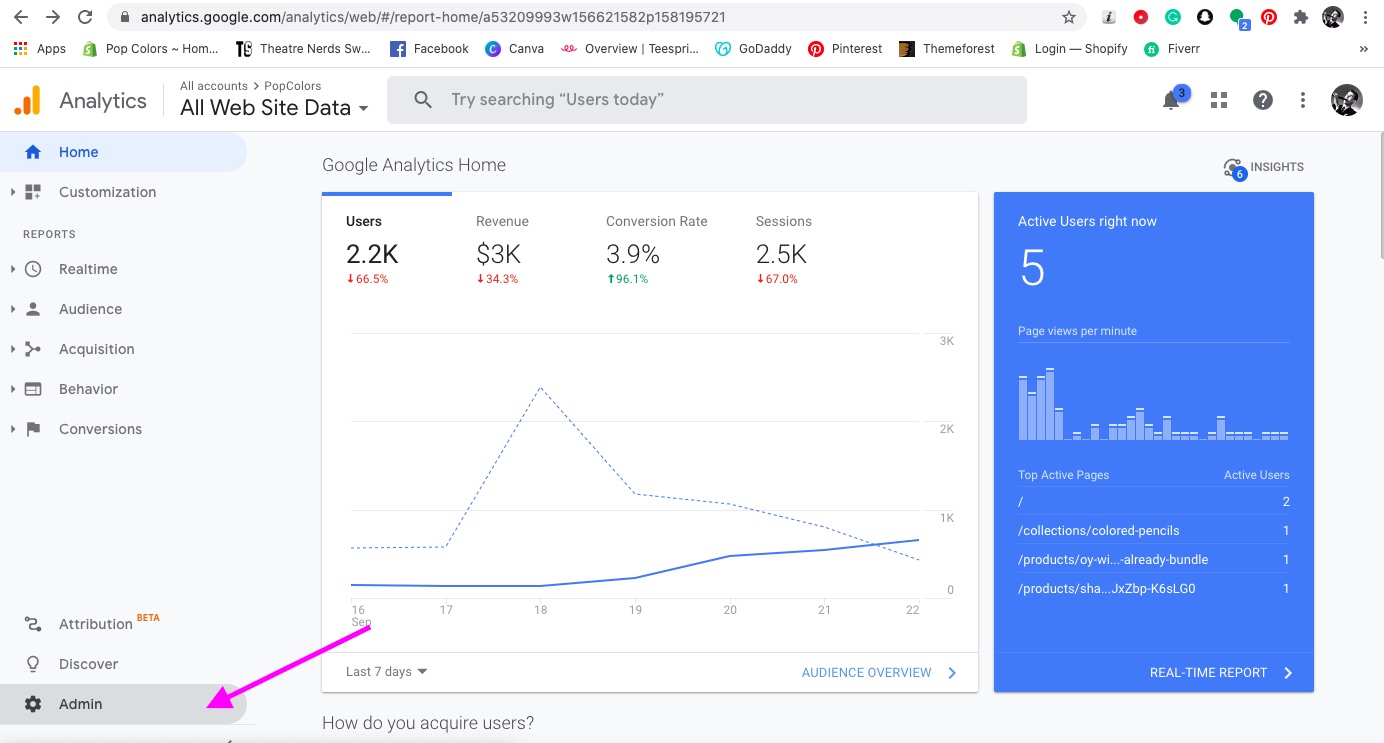
Navigate to the lower lefthand side of your screen and click the tab that says ‘Admin,’ this should open up a new page with administrative settings for the property.
3. Click ‘Property Settings’

In the middle of the admin page, you will see a blue button that says ‘Create Property.’ Since we’ve already created a property, we can ignore that button, but right underneath is a button that says ‘Property Settings.’ You will want to click that button.
4. Copy the property tracking ID

After you have clicked the property settings button, another page will open up with some information. Towards the top, under ‘Basic Settings,’ there is a section called ‘Tracking ID.’ Underneath that, you will find the code needed to connect your Google Analytics with Shopify. Copy that code to your clipboard.
That completes step 1.
Step 2: Paste the Google Analytics tracking Id into Shopify
Step 2 is even easier than step 1. Once you have copied the tracking ID, you will want to log into your Shopify store and do the following.
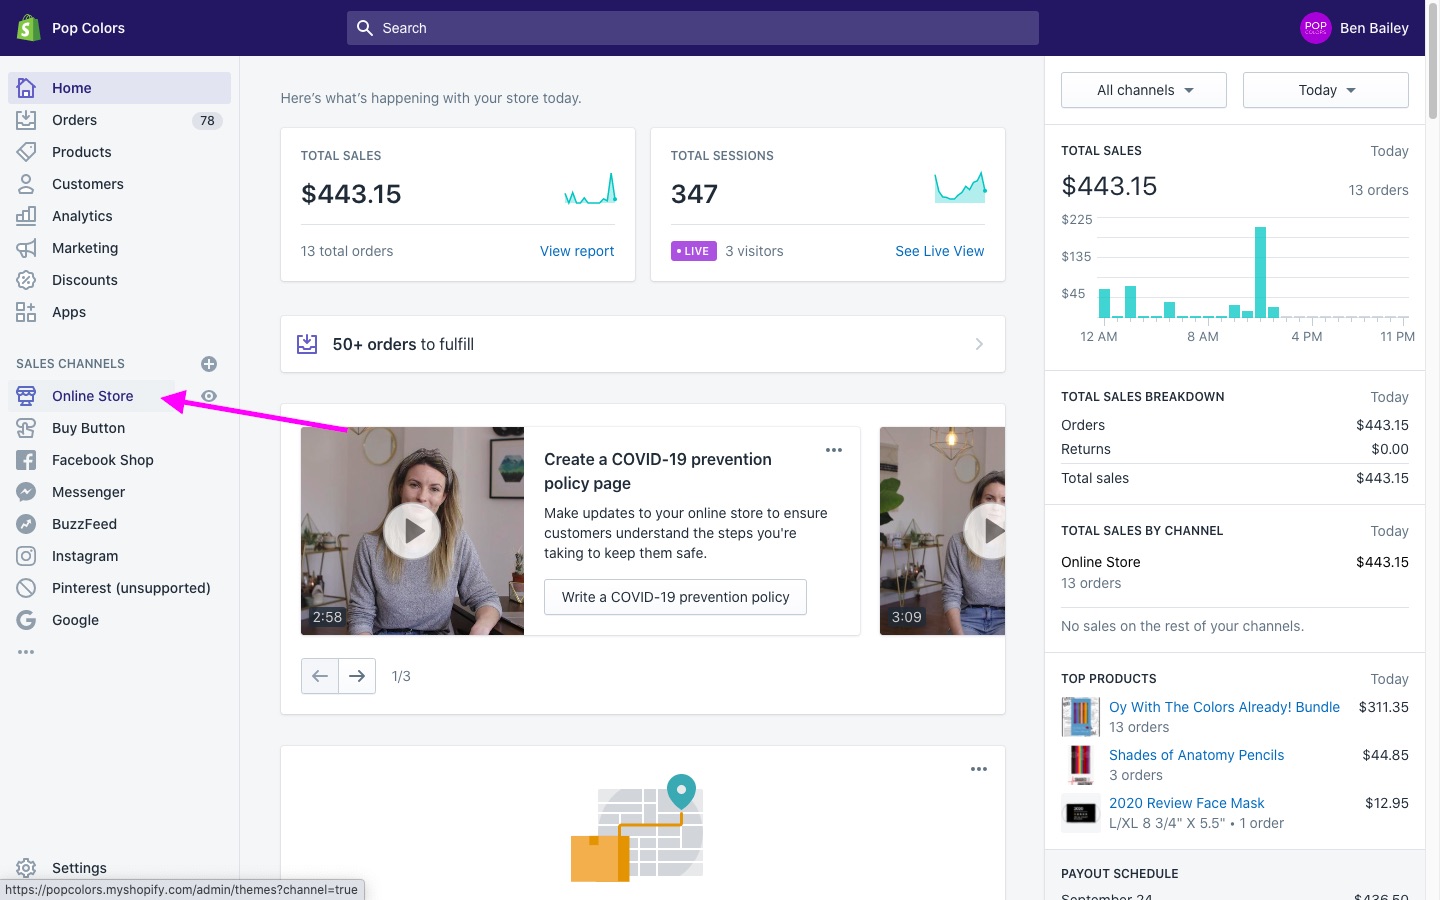
1. Click ‘Online Store’ in the Shopify dashboard
2. Click the ‘Preferences’ tab
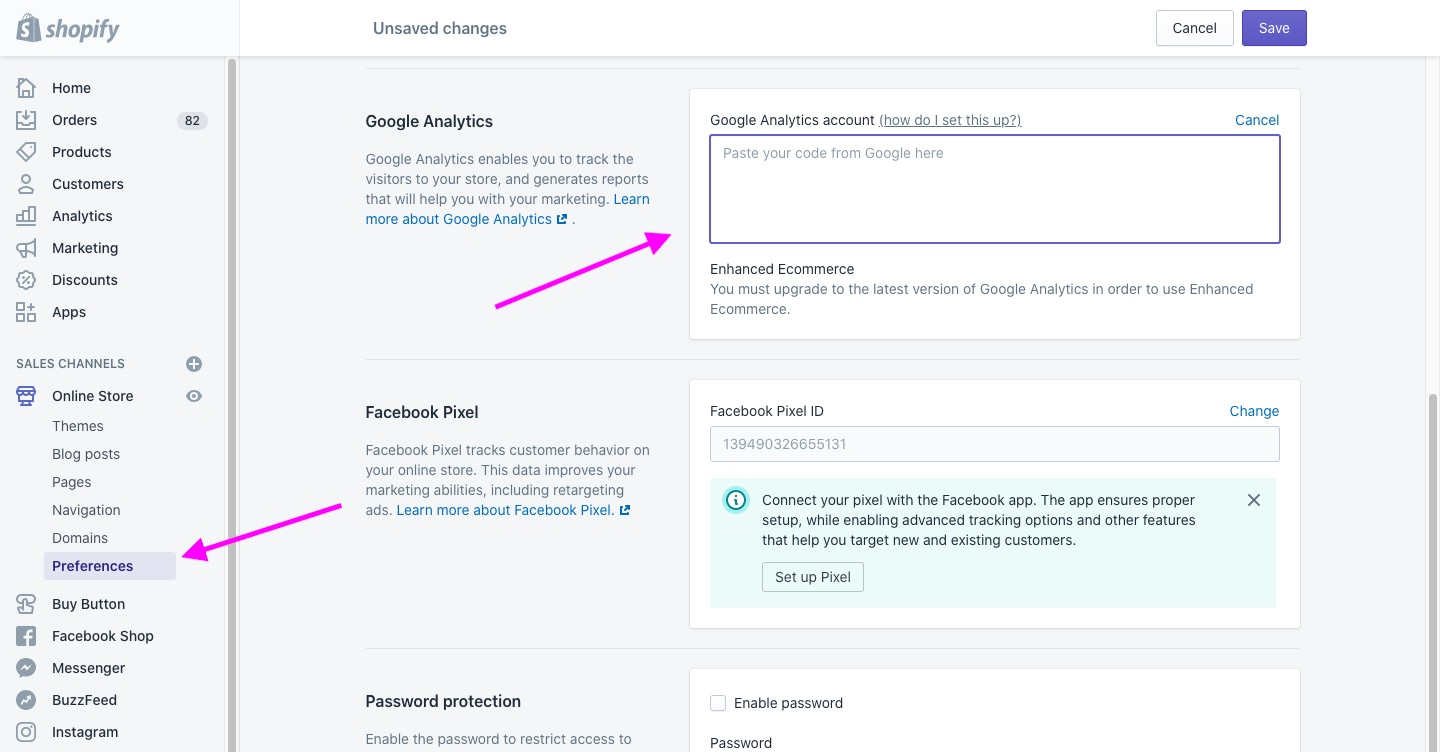
Once you are on the online store, you will see a tab on the lefthand side that says ‘preferences.’ Click that tab and scroll down to where you see the section titled ‘Google Analytics.’
3. Paste your tracking ID into Shopify
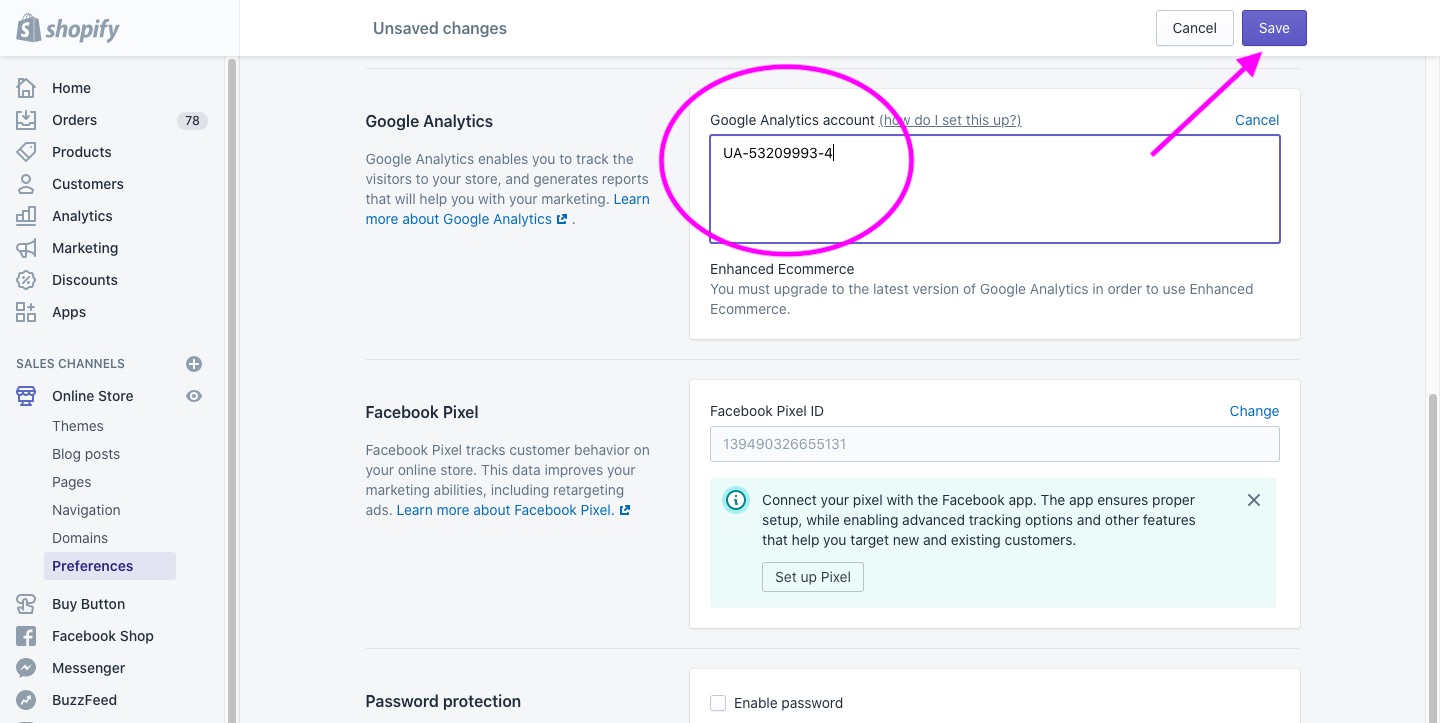
Since we have copied our tracking ID to our clipboard already, you will just need to paste it into the box in the Google Analytics section. After you paste the code, be sure to click the ‘Save’ button.
4. Make sure it’s working
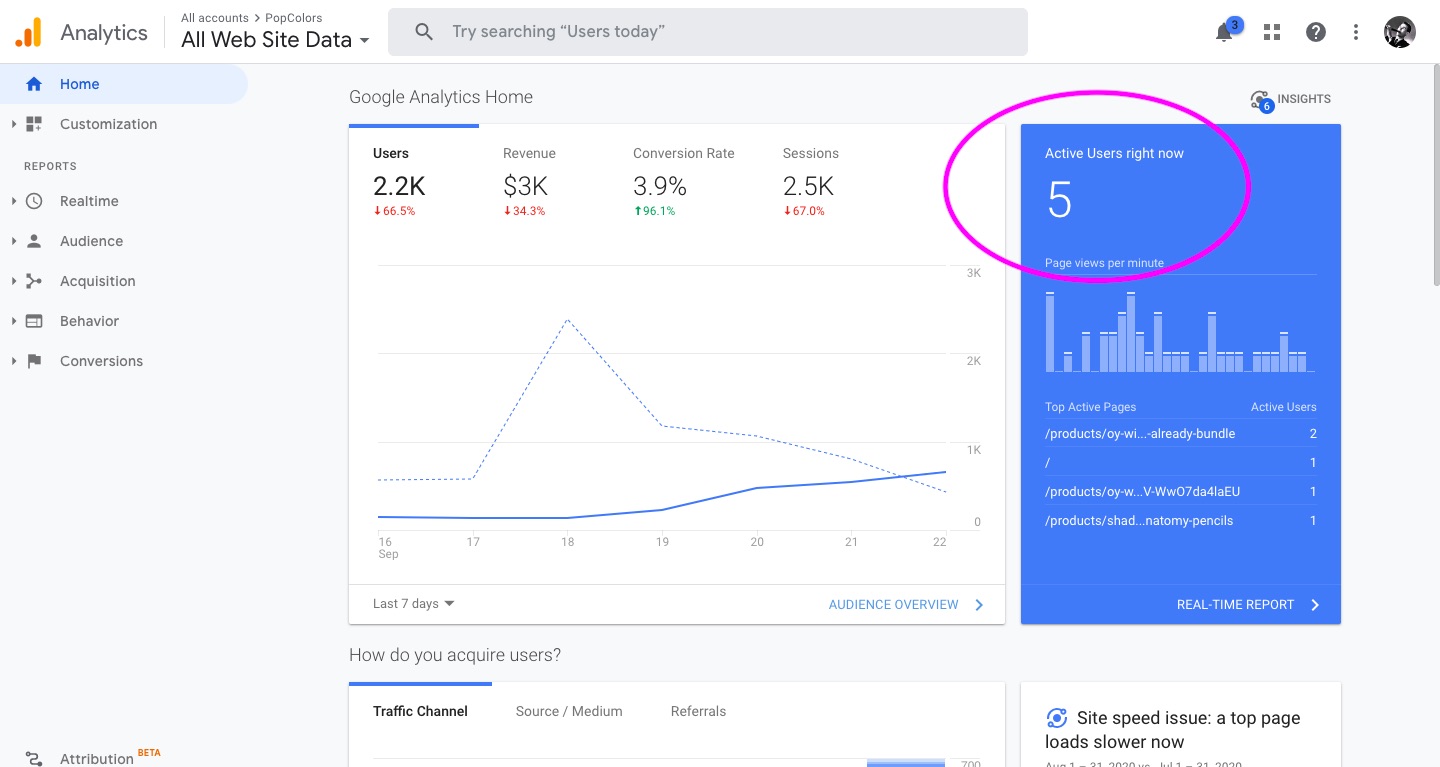
Don’t forget to go back to your Google Analytics dashboard and confirm it’s registering traffic on your store.
Once you’ve confirmed, congrats! You’ve successfully connected your Shopify store to Google Analytics.